Thursday, 16 May 2013

Night Photography: Aperture

We all know what's the use of aperture in photography, it's used to control the amount of light hitting our sensor, it also controls the depth of field.

In Night Photography, aperture plays key role to create the image you want, it's particularly important for star chaser to have lens with aperture range of F1.4-F2.8 so they can shoot wide open to capture more stars. Shooting wide open has another advantage as you can shorten the shutter speed and won't get the star trail but just star point(shutter speed below 30s or less). You can see the example below where the milky way is taken with aperture number F1.4.

F1.4
For people who shoot urban-scape at night, artificial light source such as street light can't be avoided at all. To control how they look in your image(depending on the design of lens diaphragm as well), aperture comes into play again. Look at the image examples below -

F2.3
F2.8
F4
F5.6
F8
You can see exactly the aperture not only control the amount of light, it will affect how the artificial light source looks like in your image, if you want "orb" looking light source, you can shoot wide open(below F4) however if you want more focus light source just close down the aperture(F8 for example).

Go out and experiment with your lens and you may find them having different look than mine here because of the lens diaphragm design, I suggest you create a set of images with different aperture setting for reference purpose(just like what I did here for Lumix LX7 leica lens), then take it into consideration when shooting night images next time.

Sunday, 5 May 2013

Oh, you lost the details ...

Often when we are photographing at night, there are times when people may say "Hey you have overexposed the image(because of street light usually)"

Is it really that important not to overexpose the image? In digital photography, if you want to recover the detail in highlight area, then the answer is yes, but ...

The question to ask yourself would be more of "Is the detail in that particular area important to the image you want to create, if not why keep it?"

Just blow it out, my friend ;)

Saturday, 4 May 2013

NP: Amazing Ayutthaya

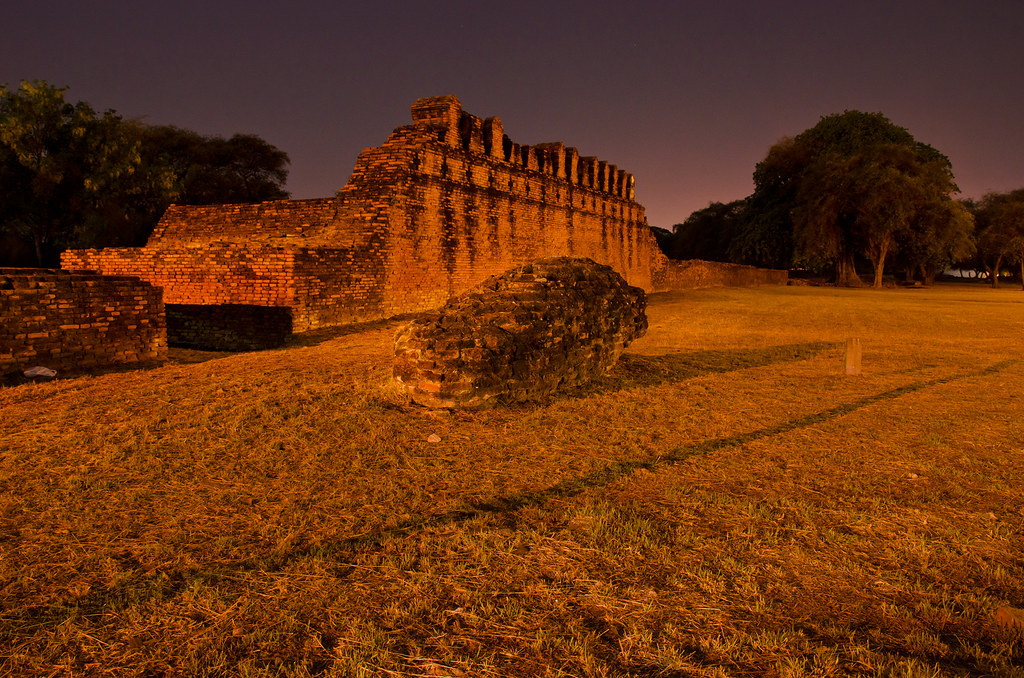
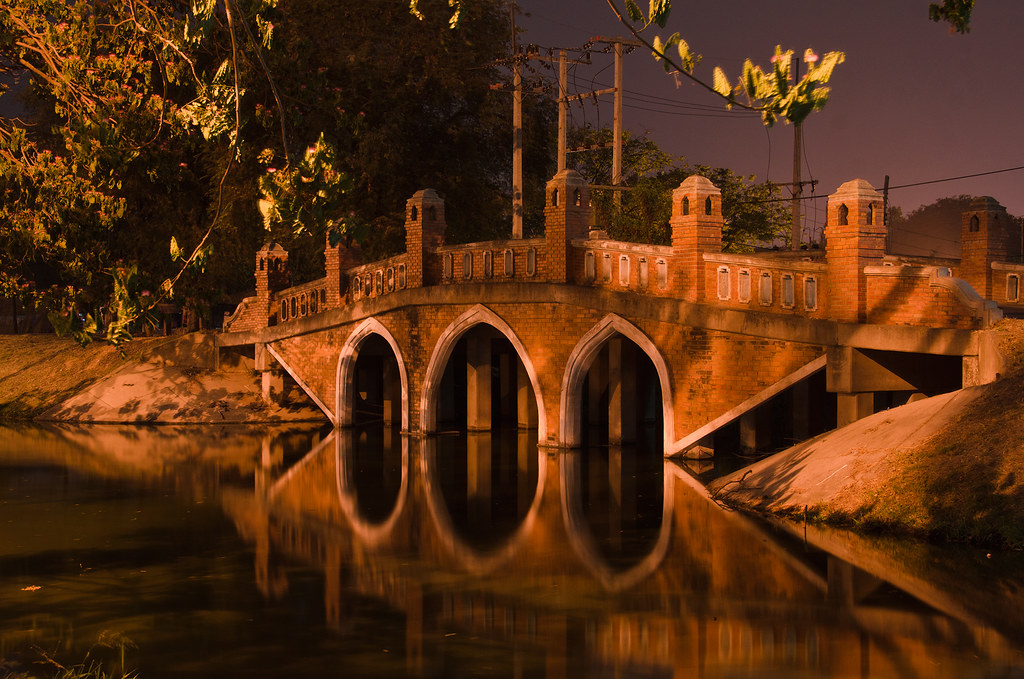
If you have never been to Ayutthaya, Thailand, you should visit this location. It offers wide range of opportunities for night photographers. While you need to pay little fee to visit some of heritage sites, this ancient city is packed with all the ruins where you can access at night without restriction as well.

This is the first time visit to this location, unfortunately I have only spent one night here. This is considered as "survey" trip for me, I plan to come back to this magical location another time. You can rent a motorbike to go around in the city, each of the ancient site are actually near to each other(within 1km range). 

Here are 2 images I would like to share, I really want to build body of night work for this ancient city.

Exposure: Aperture F8|Shutter Speed 15s|ISO 200|WB Fluorescent
Exposure: Aperture F8|Shutter Speed 13s|ISO 200|WB Fluorescent

Thursday, 2 May 2013

Rosco Roscolux: Complete Reference Set

First of all, I'm not associated with Rosco by any mean but have been using their color gel extensively in my night photography and portrait works for two reasons - color correction(natural) and mood creation(playful).

The main aim of this project is simple, to give videography/photography community more complete reference of Rosco Roscolux offering.

Color shift is the main reason I'm creating this set, there are many factors that may generate color variation where one color changes to become another or become dimmer, lighter, warmer or cooler. Here are the factors -

- Camera Color Profile(Adobe, Neutral, Portrait, Landscape, etc)
- White Balance(2500-10000k scale, tungsten, fluorescent, daylight, etc)
- Reflected surface(Smooth, Rugged, Matt, etc)
- Light source color(neutral white, warm white, cool white)

Hence providing the set makes things easier and flexible because you can find the color you want in different condition(the change of color profile, white balance). And with that you can find precise and more defined color pallete. On top of that, color reproduction will be very easy with the set available.

Here's how I produce the reference set, all the raw files are captured in controlled environment where the ambient light is killed with 1/200s so that the color produced by the color gel won't be affected by available light. The color gel is stuck on the Nikon SB700 flash head and blast on the white foam. The white foam is selected since white surface reflects the color that is casted on it. To make everything standard, here's my camera setting -

Aperture: F8
Shutter Speed: 1/200s
ISO: 100
White Balance: 5200K(Close to daylight)

I'm hosting the complete set at box.com, it is consisted of 22 zip files and each zip file size is roughly 250MB, once you have downloaded the zip file, you can decompress them and find that each raw file is named based on Roscolux code. Now you can actually load the raw file to any image processing software(Photoshop/Lightroom/etc) that can read .NEF file and play with them.


The Roscolux Reference Set can be downloaded at -

https://www.box.com/s/2avdo7zkqx0b1ka54hl4

I suggest you take a loot at -

http://www.cinequipwhite.com/staging/wp-content/uploads/comparator_poster.jpg
http://www.rosco.com/litreq/catalogs/Guide_to_Color_Filters.pdf

You will learn a lot about application of various color gel in different scenario from stage lighting experts.