I have borrowed Lumix LX7 compact camera from my friend to do night photography field test, after one month plus of shooting, finally I sit down and put all my notes together.
The test I'm doing, mainly focusing on the usability and performance in night photography. Instead of explaining stuffs in long text, I just summarized them in point form -
Pros:
1. Aperture - With F1.4, you can shoot wide open and capture a lot of stars, on the other hand makes freezing subject at night possible
2. Shutter speed - Support up to 250 seconds(4 minutes and 10 seconds exposure, you don't need to buy additional shutter release for long exposure works)
3. ISO - Usable up to 800(before intrusive noise appears)
4. Lens - Leica lens resolution power is amazing to capture detail at night
5. Focus - Both autofocus and manual focus, LX7 autofocus is interesting, if you point your camera to dark location and it sees nothing, it will automatically set your focus to infinity so you get 0.5 meter to infinity depth of field and that's very practical for night photographer, if you want to focus on certain area, the manual focus in LX7 does show the DOF zone meter so you can easily focus at night. To adjust manual focus, you just need to roll the ND filter button
6. Countdown timer - It shows the timer when you set to 1 seconds exposure or more so you know exactly when the shutter is closed
7. Build-in ND Filter - It is very handy, why? In the location where street light is massive, and yet you want to do light painting, you can prolong the exposure time by turn on ND filter(as LX7 can go up to F8 only, so the ND filter can be used to compensate)
8. Hot Shoe - It might not be used often by night photographer but you can trigger flash remotely
9. Size - It's little compact, you can be more stealthy and move around faster
Cons:
1. Long exposure noise reduction(LENR) - This function can't be turned off, it shows up when you shoot with shutter speed of 1s(this eliminates the possibility to capture star trails, normally LENR will capture the dark frame to cancel out the long exposure noise(hot pixel), for 60 seconds exposure it will take another 60 seconds to capture the dark frame)
2. Timelapse function(intervalometer) - It is not flexible(1 minute interval as minimum setting, if LENR can be turned off and the interval can be set to 1 second, we will be able to make star trails image)
3. White balance - Never expect auto WB to be accurate when shooting at night especially if you are going for urban-scape, if you shoot under street light, it always shifts to yellow colour cast, however you can solve this problem by shooting raw
4. Noise - It creates problem in shadow area, the chromatic noise is quite obvious in shadow area, this is critical in night photography because the noise affects the detail in the shadow and it's very hard to clean up in post-processing, and this shadow noise seems to happen even at ISO 80(I remember I see more pleasing output from LX5)
5. Lens hood - No lens hood, the lens is easily exposed to flare. There's workaround, make your own lens hood using black card, here's the interesting part, you can easily see if any flare in the LCD screen in real time, then use black card to block them accordingly
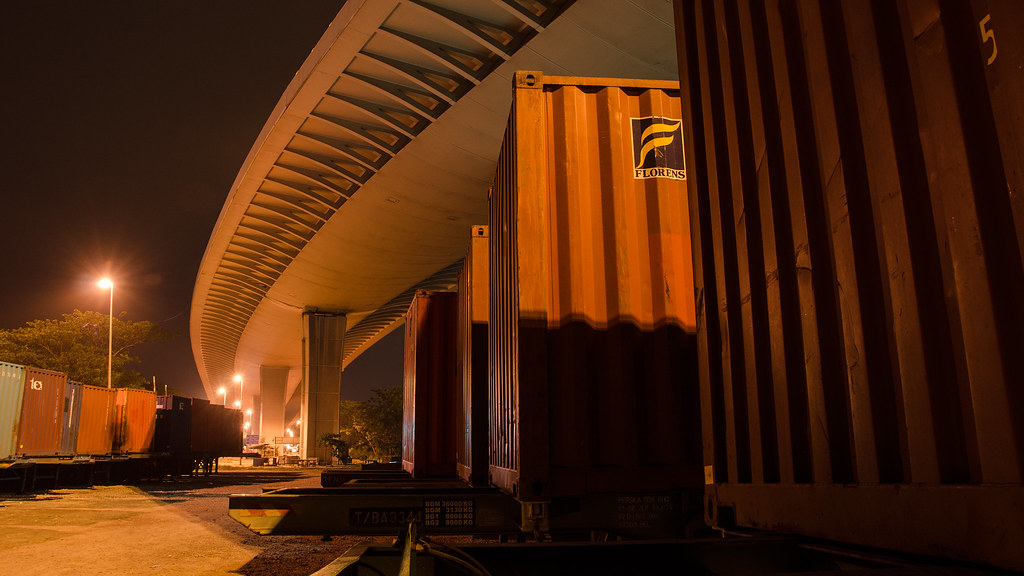
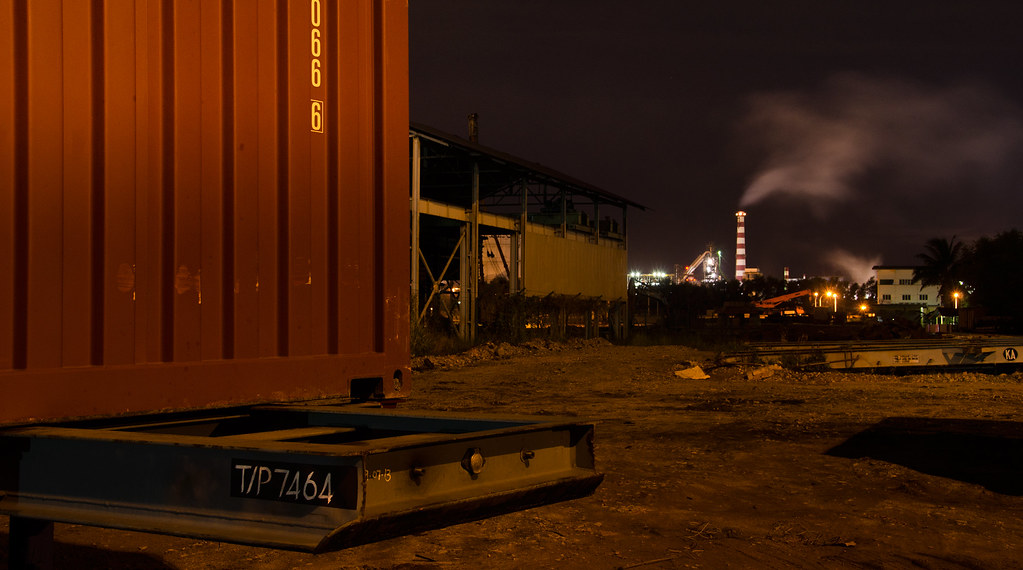
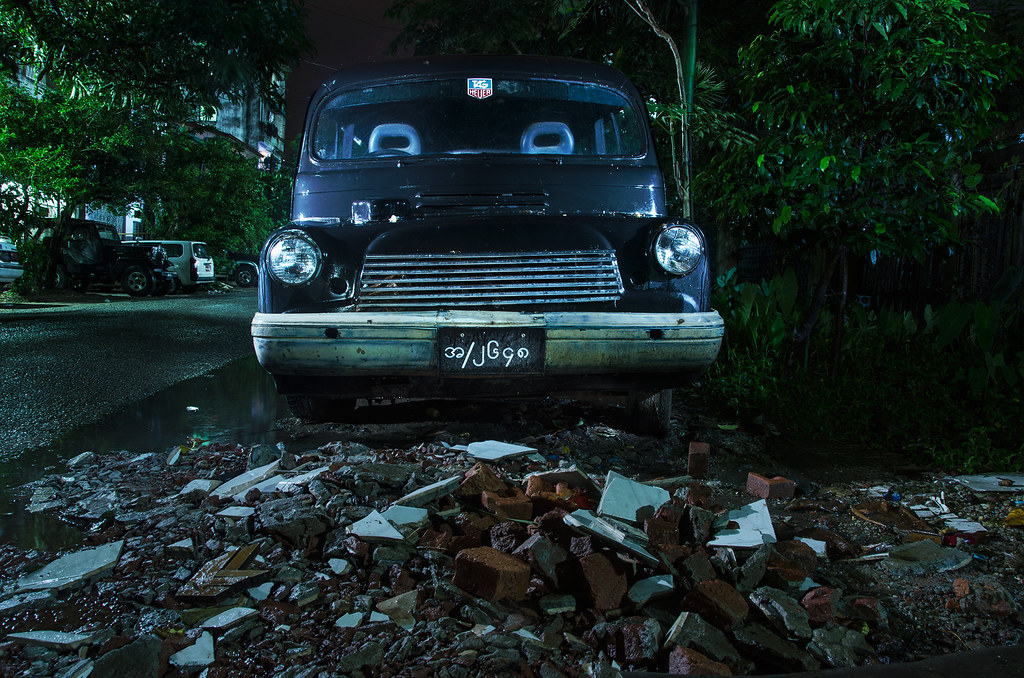
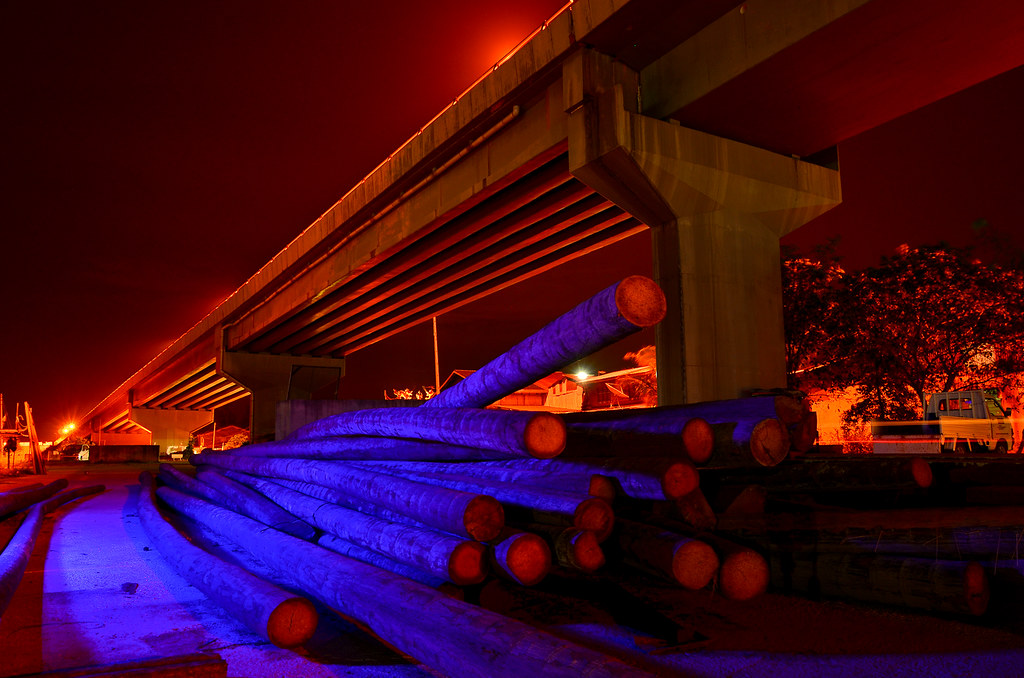
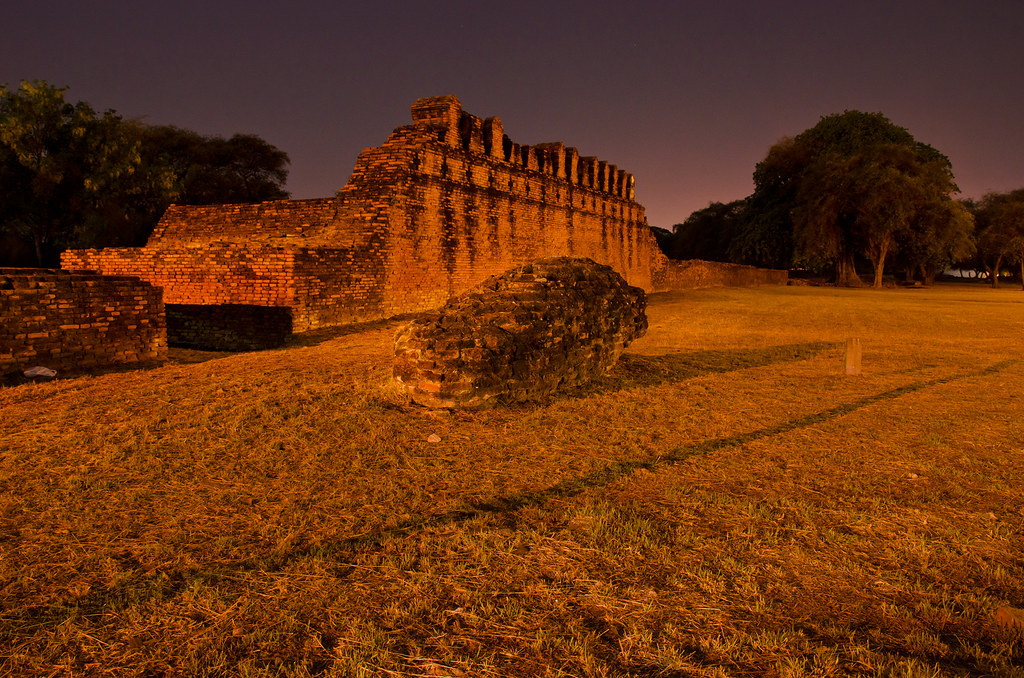
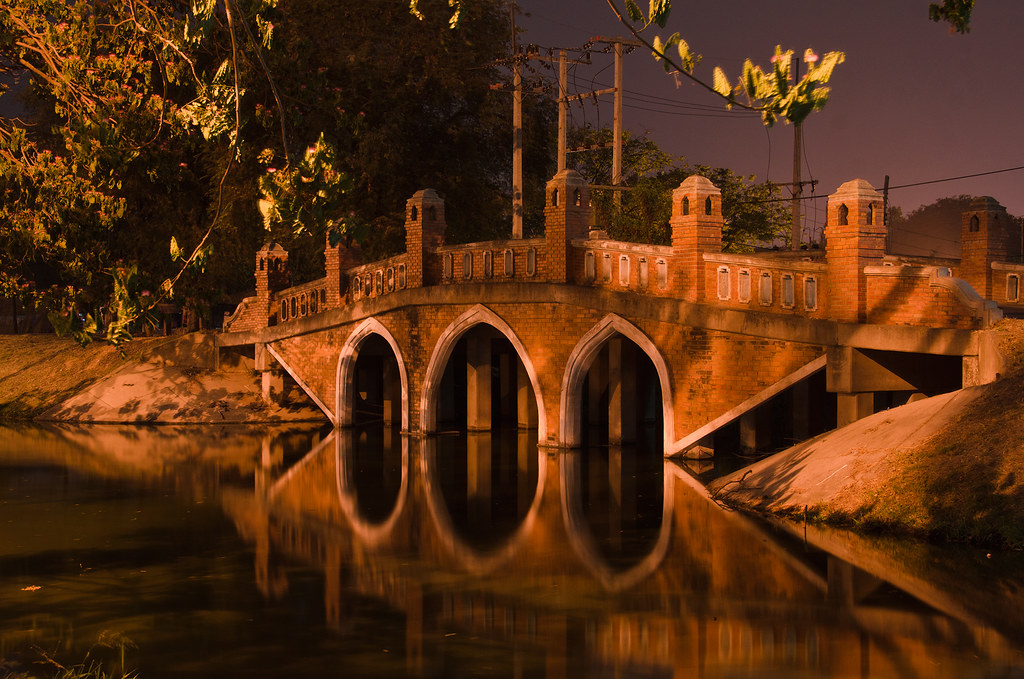
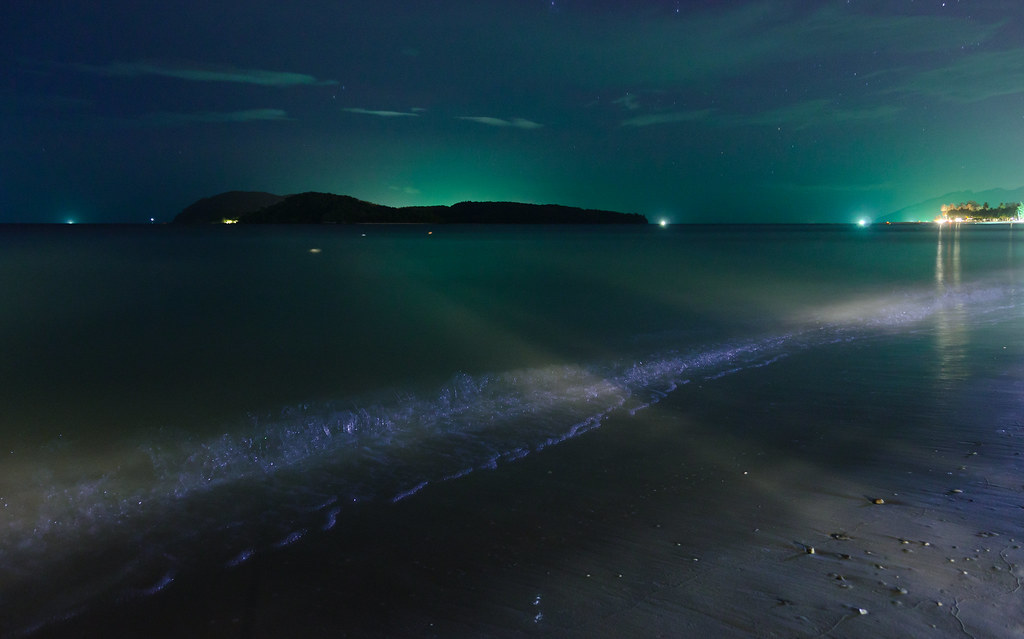
Let the images speak for themselves -
 |
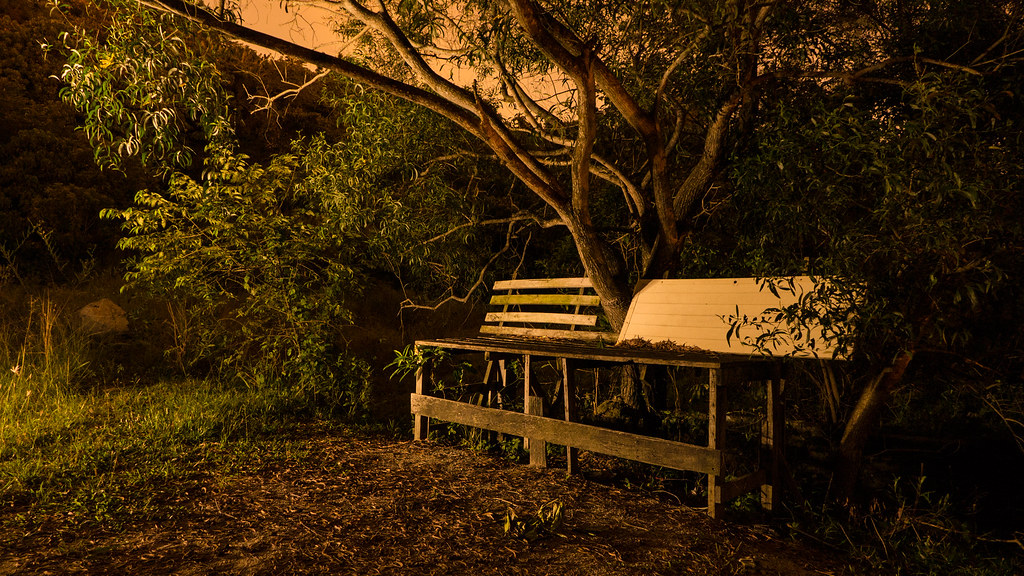
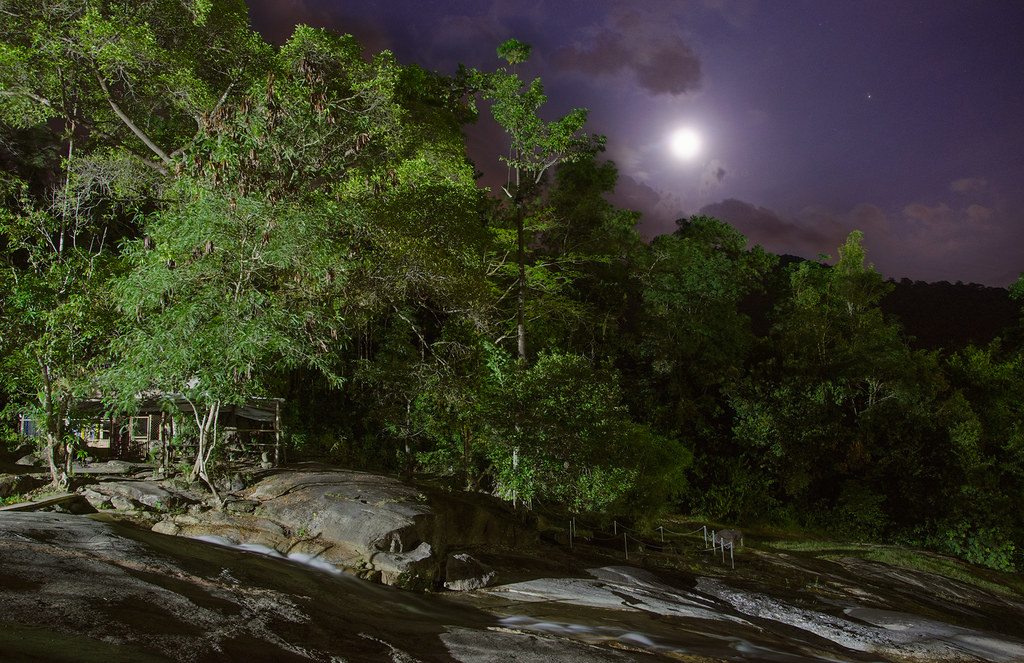
| Old Tree |
 |
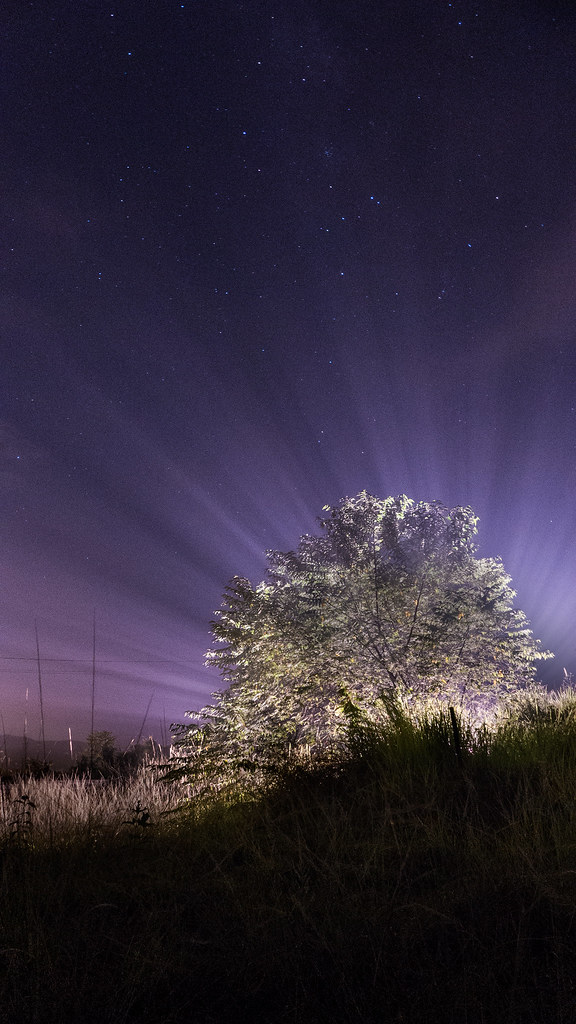
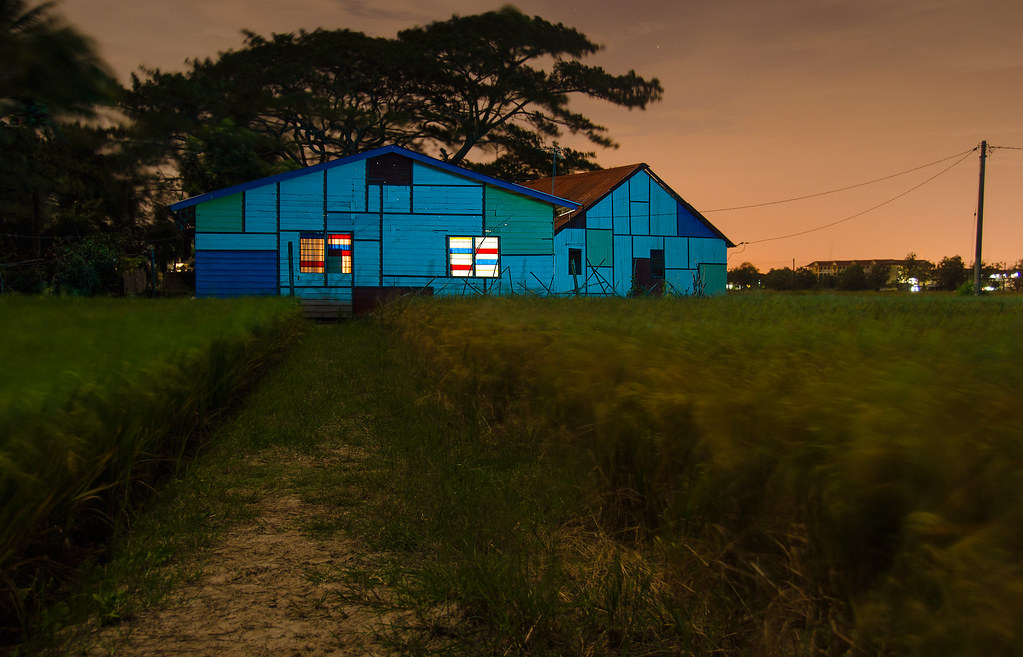
| The Night Dream |
 |
| The Night Hope |
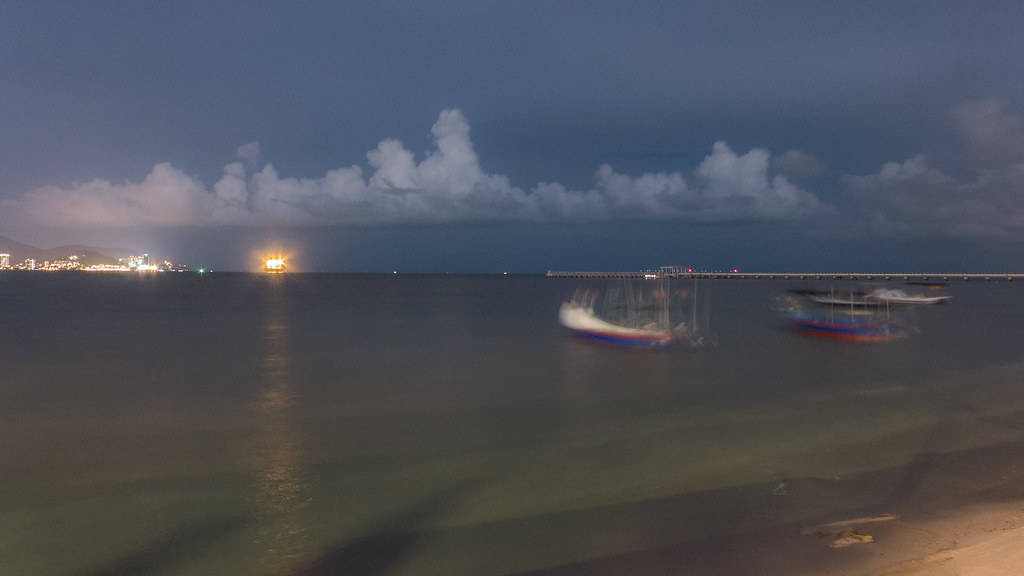 |
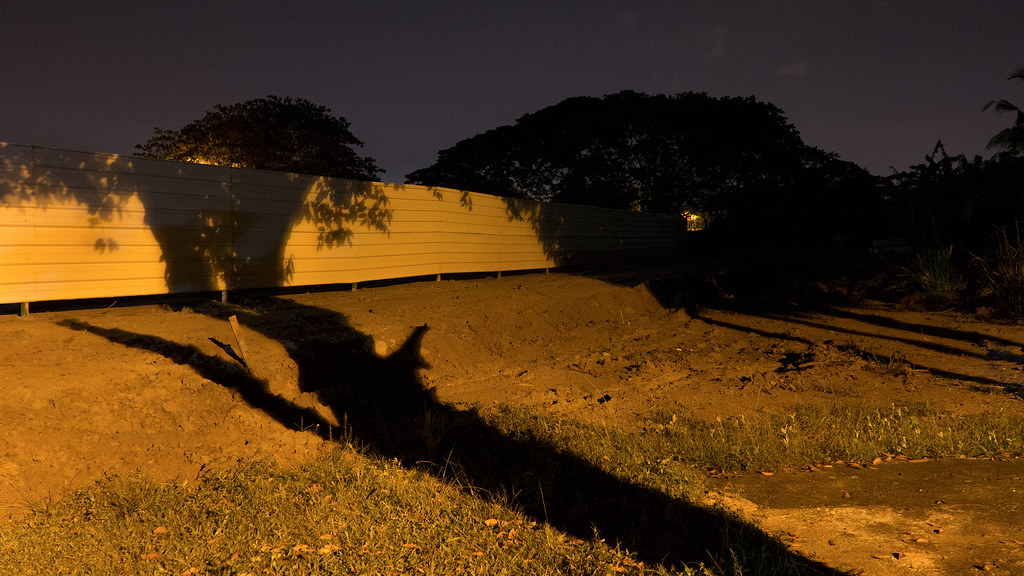
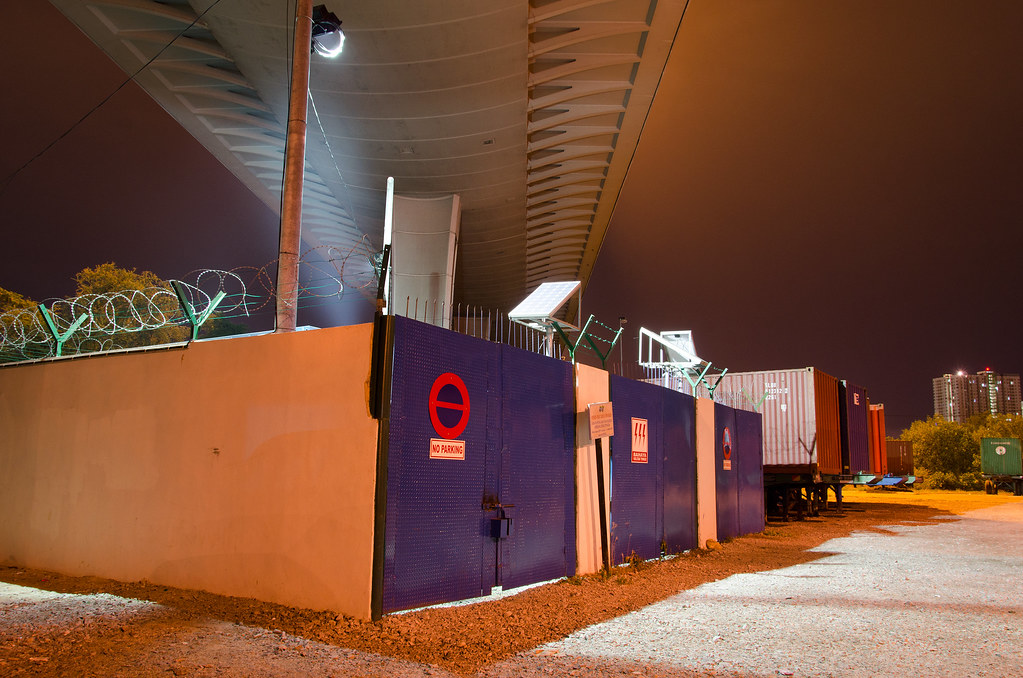
| Getting Away From Business |
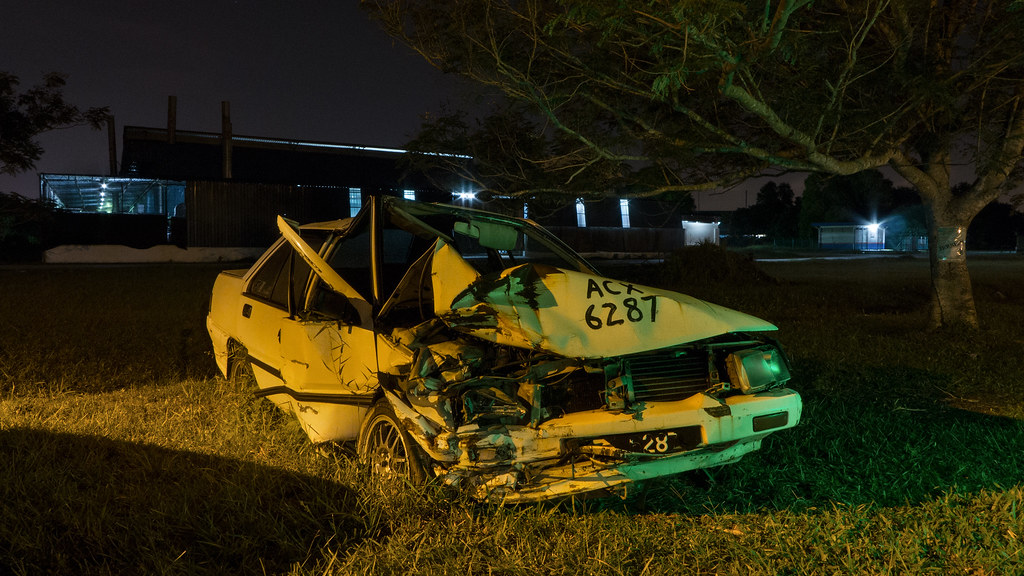 |
| Crashing In Style |
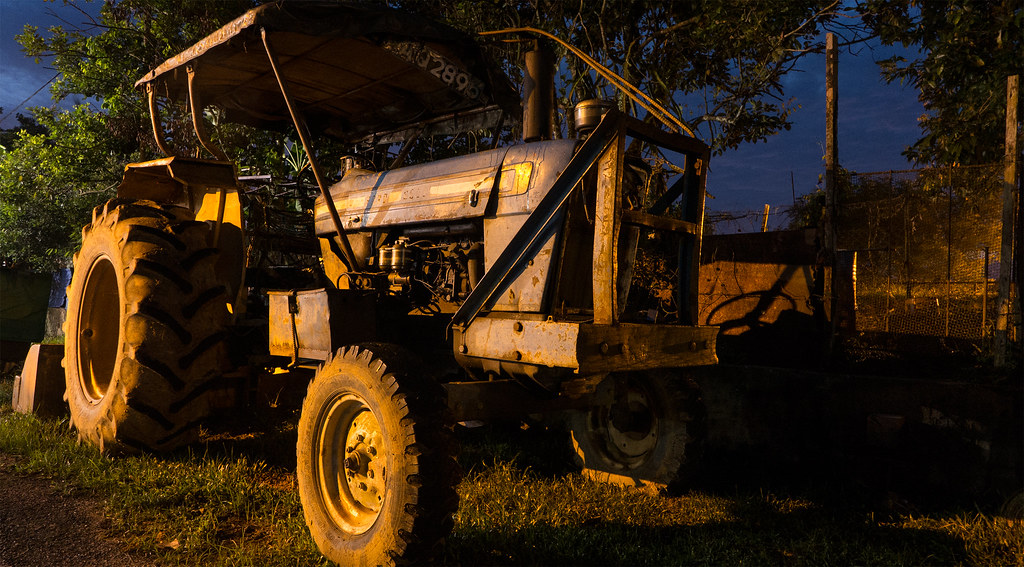 |
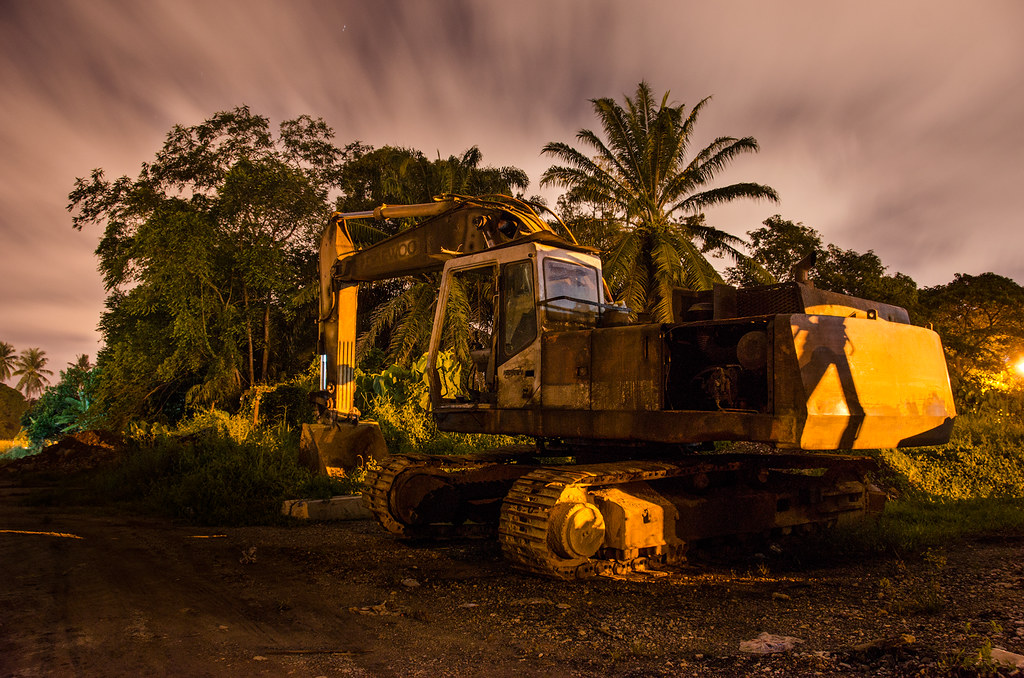
| Rusty Beauty |
 |
| Natural Blending |
 |
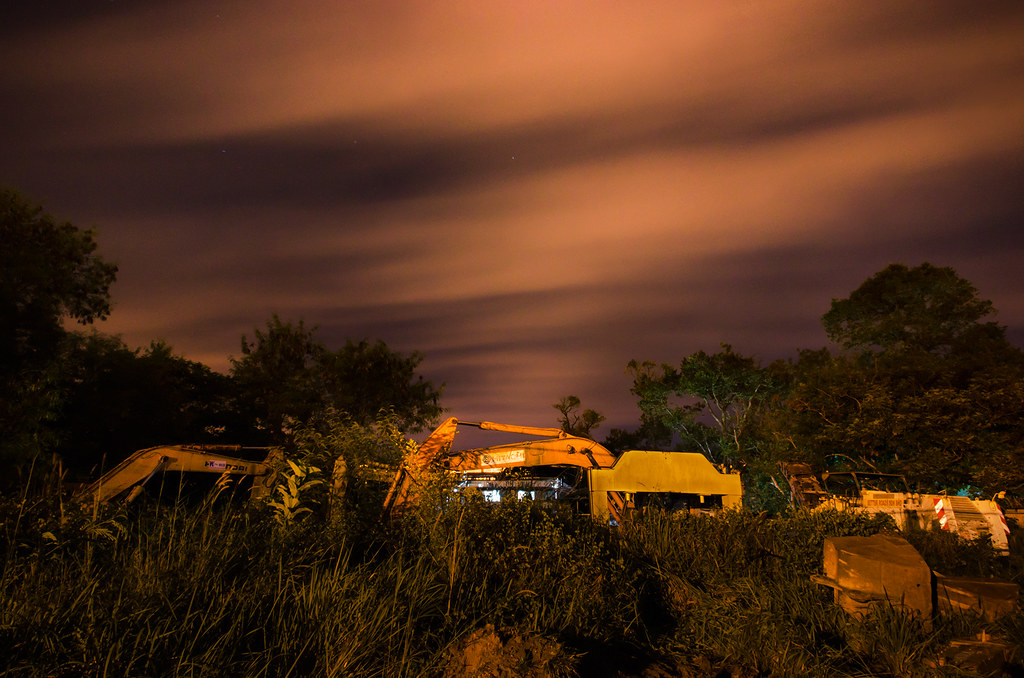
| Good bye, trees ... |
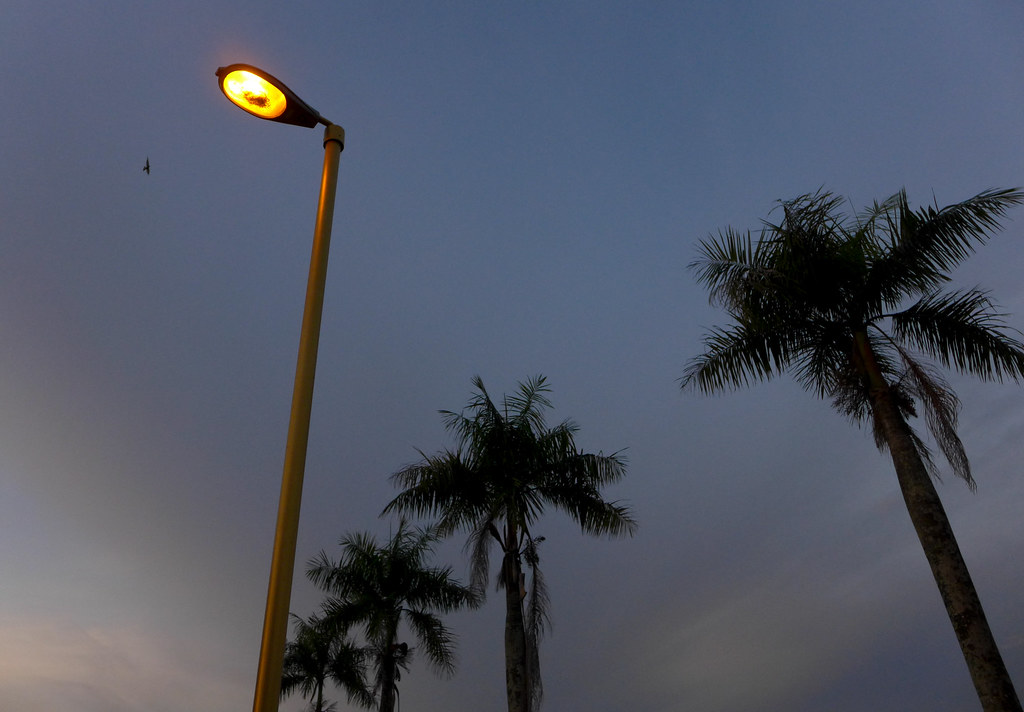 |
| Illuminate Me II |
I won't go into detail on how I create all the images here, in short they are all captured at night, the raw file is further post-processed using camera raw and photoshop. I kind of like luminance noise in LX7, it looks like film grain to me but will never shoot more than ISO 800 though. Ergonomic wise I can't speak for others but I find it very pleasant to use with all the important functions(aperture,shutter speed, iso, white balance, exposure compensation, manual focus) can be accessed easily without drilling deep into the menu. I have tried Canon S100 before, both S100 and LX7 are very close for day use, however if you are interested in night photography, LX7 is definitely a winner.
What I'm hoping though, Panasonic makes the firmware update to allow us to set LENR manually and improves Timelapse function, that way we will be able to make star trails image, if they really do this, LX7 will be the complete camera for night photography.


