Thursday, 26 December 2013

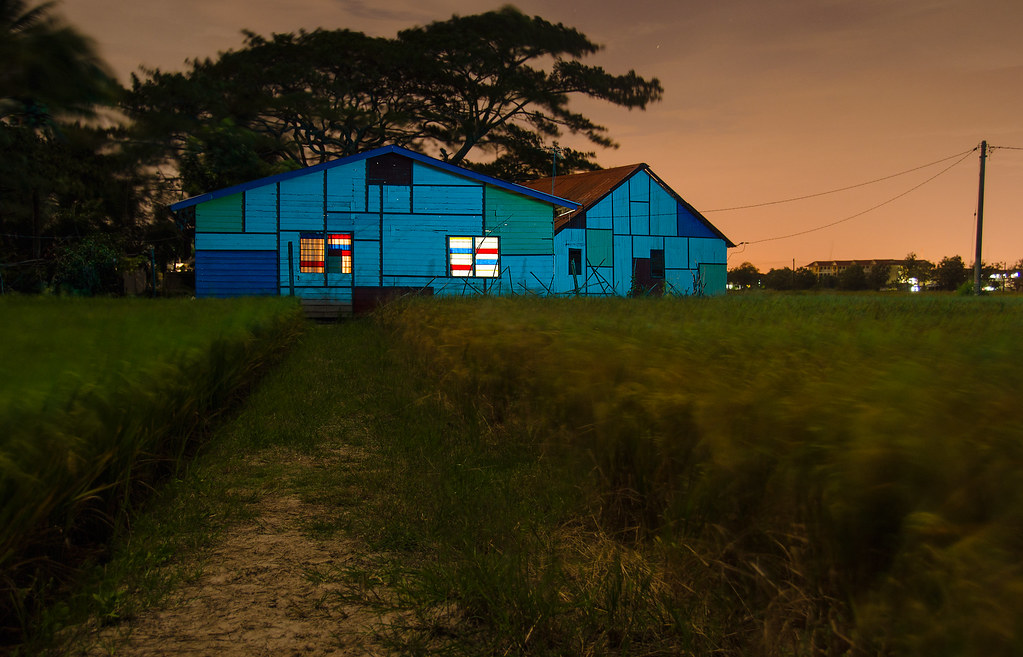
NP: Perlis Rainbow House

Rainbow House
Unfortunately what you see here will be gone soon, giving way to housing development.

This image is captured at paddy fields in Perlis, the Rainbow House is unique icon and used to be very popular after it was shown in one of Malaysia movie. But today not many people are visiting this place anymore, I guess it will fade away after the whole area is developed. I'm lucky enough to be able to capture it at night before it is long gone.

This scene is light-painted with protomachines light, which is my new tool for light painting work, I'm still testing it and hopefully can write more complete review about this wonderful tool.

By the way, Merry Christmas & Happy New Year ;)

20140619 Updates: The rainbow house is no longer colourful but white, you can find more information here -

http://www.penanglang.my/170614-145/

http://www.kwongwah.com.my/news/2014/06/17/173.html

Saturday, 30 November 2013

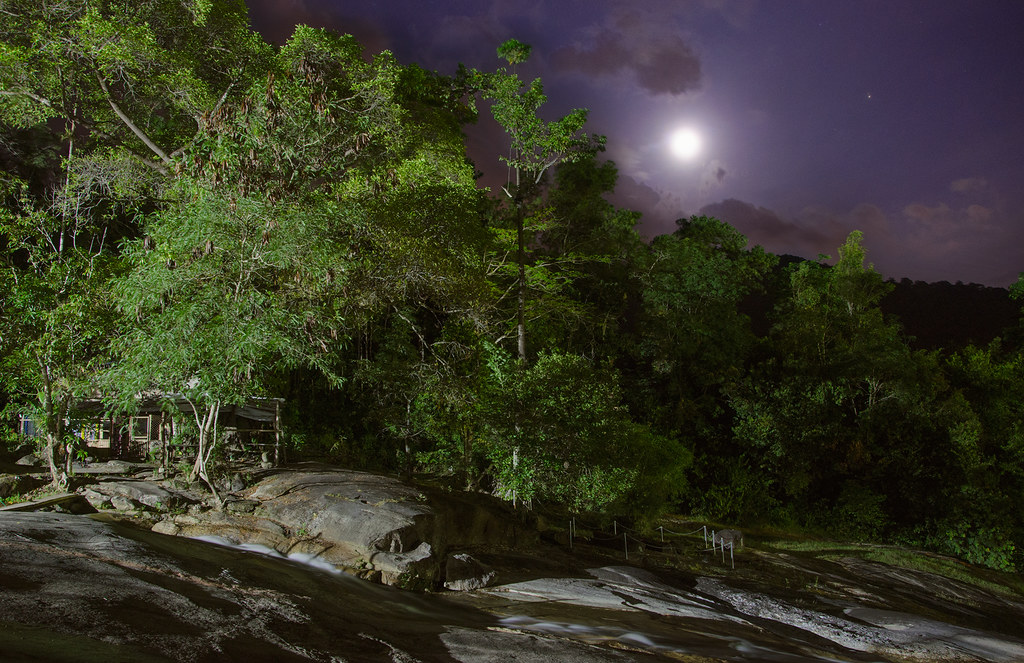
NP: Bujang Valley

The Beautiful Heritage
I'm working on the project to photograph our unique heritage site - Bujang Valley, I'm glad that the management has granted permission for me to access the site at night. But today I get to read the news which is quite saddening over here -

http://www.freemalaysiatoday.com/category/nation/2013/11/29/8th-century-temple-site-in-bujang-valley-demolished/

Several temple sites were destroyed to give way to development, to be honest this is not acceptable at all, I do hope our government will stop this before it gets worse, those sites hold the true value of our history and should not be removed without careful plan.

My initial  plan was to cover Batu Pahat site then only move to Sungai Batu, it seems I have to move quicker to cover them before it's too late.

Wednesday, 13 November 2013

The Making Of Bridge Underneath

This time I'm going to share about thought process and light-painting workflow on another image of mine - Bridge Underneath.

The location - my home town bay area which is surrounded by tungsten street light. The ambient light is quite strong here and my camera setting is aperture at F8, 30 seconds shutter speed, ISO 100 and auto white balance, I'm always happy as long as I don't need to wait more than 30 seconds to review my first image. My main subject here is those wood sticks, and the overhead bridge is considered the backdrop.
Exposure: Aperture F8|Shutter Speed 30s|ISO 100
Couple of things need to think about after reviewing first image, the auto white balance setting is smart, it sets the camera white balance to tungsten because you can see the colours shift to blue(to cancel out the orange so the colour looks more balance and natural), that's the white balance correction you get in-camera. Exposure wise, it seems to be underexposed and I need to pump up the exposure. But wait, I don't really care about "Correct" but more on getting "Creative" exposure, therefore I'm going to change the white balance to cloudy here to amplify the orange colour background light and keep the exposure(Aperture, Shutter Speed, ISO) setting the same as first image. Most people never thought that changing white balance will increase your exposure especially when you change from cool white balance to warm white balance.
Exposure: Aperture F8|Shutter Speed 30s|ISO 100
Second image looks brighter than the first image even though I don't change exposure setting, it's not the exposure I want yet but close, the cloudy white balance changes the whole scene to orang colour. My main subject is those wood sticks, to make them pop, I play with "colour contrast" concept of which I will paint them with cool colour(blue here) against the warm colour(orange) backdrop. For the background ambient, I will add 1/3 stop of light so the setting I'm going for is aperture at F8, 40 seconds shutter speed and ISO 100. Light-painting wise, I'm going to paint the wood sticks from camera left(just out side of camera view), then get low to illuminate those woods, and just skim a little bit by standing up so that the woods on top will be painted as well.

Exposure: Aperture F8|Shutter Speed 40s|ISO 100
After 3 tries of light-painting, finally I have gotten everything right and here's the final result, the wood sticks colour becomes purple instead of blue(red orange+blue=purple), the background is little bit brighter and more glowing compared to second image. Post-processing wise I adjust the contrast a little bit and done.

Make up your mind of what you want to create, it will determine how the final image looks like.

Friday, 11 October 2013

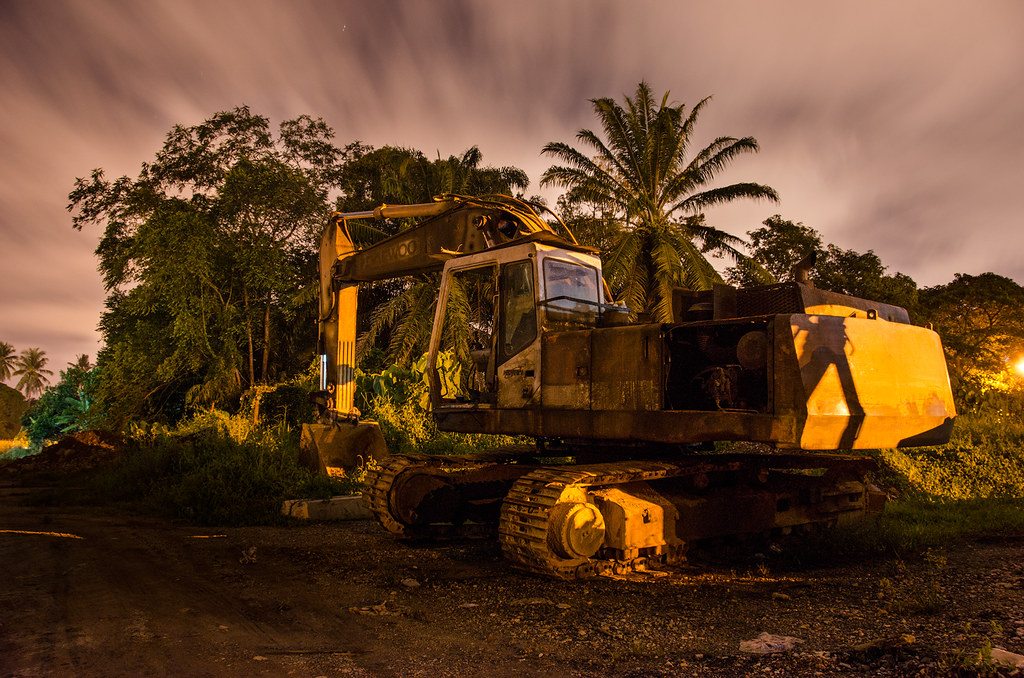
NP: Good Bye, Forest ...

Exposure: Aperture F5.6|Shutter Speed 90s|ISO 250
At the truckyard, the excavator is parked beside the woods, this location is heavily illuminated by the sodium vapour street lights.

Sometimes the background makes the image, it would be boring if there's nothing in the sky. Here's the tip to share, I checked the weather forecast to know the night will be cloudy, and second factor to control how your image looks like is the wind direction and speed. Once you have those information at hand, the rest is about making the image on location. Being patient is important too, I have to observe the sky and wait for the right timing to get interesting sky like this, and the reason I set the shutter speed to 90 seconds because the cloud was moving slowly and requires longer time to capture the transition of moving cloud.

By the way I use the mobile app - Foreca to track the weather information, so far it seems to be most accurate for the country I reside. It offers both IOS and Android version as well.

Tuesday, 24 September 2013

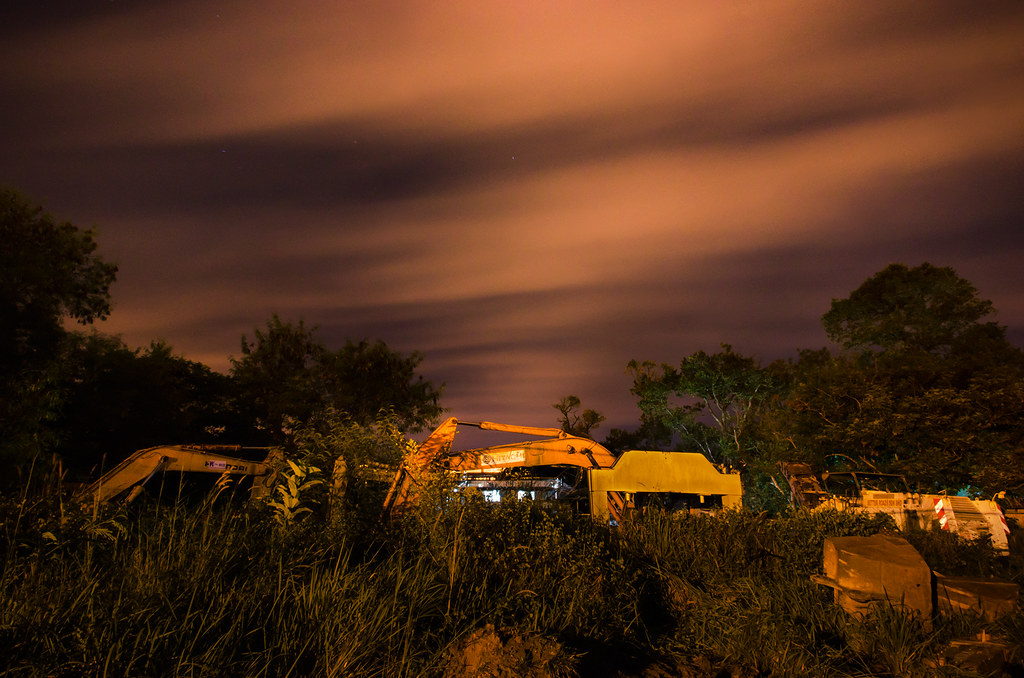
NP: The Hidden Truckyard

When we are getting to the location that is amazing at night, sometimes it becomes even tougher to capture the sense of place, we may become overly excited and speed up our process so that we can capture everything.

Learn to slow down and feel the location, and only start shooting after you become part of it.


Lit by sodium vapour light(quite a lot of street lights over there) from camera left. This scene would be static if I set very short shutter speed, as I could see the cloud was moving and it was winding, I set my shutter speed to 90 seconds. Observation is important here, we can actually control how the cloud looks like in long exposure by watching them. This is one of the frame I'm most happy with after few clicks that expresses what I have in mind about the location.

Wednesday, 18 September 2013

Ohai Internet

We all use many internet services today, and I am no different. So to make things clear about what I do and how I use them -

Zenfolio - http://cslee.zenfolio.com
My main photography site

Blogger - http://9shift.blogspot.com/
More content driven, long post will be usually posted here, discussing about techniques and art

Facebook - https://www.facebook.com/cslee.photography.art
Keep my friends updated about my photography work

Flickr - http://flickr.com/photos/9shift
Mainly posting latest night images and check out other photography friends' work

When we are using too many services, we can easily lose track, I'm writing this to keep myself stayed focus.

Tuesday, 17 September 2013

The Making Of Surviving Fishtown

I would like to share how I make this image - The Surviving Fishtown and the whole light-painting workflow.

My main subject here is the fisherman house, and an old rusty boat, to get the composition and exposure right I set my ISO to 400 and 30 seconds shutter speed so I don't need to wait too long to review it. This is what I get from first image.

Exposure: Aperture F8|Shutter Speed 30s|ISO 400|WB Auto
After reviewing it, I change the ISO to 100, and extends my shutter speeds from 30 seconds to 220 seconds to compensate it(add 1 more stop roughly) so the camera can capture more background ambient light and at the same time reduce image noise. From the first image I know that the foreground is in the shade and won't be illuminated much, so that gives me full control of how I can light up the foreground subjects. I stand on camera left, and skim the light through the foreground and that gives me rough idea of how I can have more precise light-painting after reviewing it on my lcd screen.

Exposure: Aperture F8|Shutter Speed 220s|ISO 100|WB Auto
Here's the juicy part, what I want my viewer to see and interpret? I want to project a polluted fish-town here, if I go with tungsten white balance the colour tone will be more blueish, I want it to have more cryptic colour(orangish) presented in the scene, so I switch the white balance to cloudy, and that will enhance the present of background light pollution(generated by the street light). For the light-painting part, I just need to bring out the details of all the subjects here, I stand nearby the tree on camera left(just outside of camera view), then paint the tree and cast its shadow on the house to show the tree is angry because of pollution, after that get the light to lower angle to illuminate the muddy ground and also back light the boat to bring out its shape. The last part is run to camera right, stand in front of the boat(just outside camera view), and illuminate it from low angle(more like a cross light setup after-all). As I want the boat to look more rusty, I put less light on it compare to other part of the scene, the whole light-painting process is done in 220 seconds.

Exposure: Aperture F8|Shutter Speed 220s|ISO 100|WB Cloudy
The final image is here. As I shoot in jpeg, nothing much I have changed except cleaning up the dust spot and adjusting the contrast. I always love to practice story driven lighting, which shapes the story I want to tell.

By the way, I would like to tell the star, you are not alone ;)