I don't know Steve Harper personally, however I have learnt a lot from him through Lance Keimig's Night Photography book. Steve Harper is Night Phogoraphy Guru who has contributed to the world of Night Phogoraphy and put things into scientific and structural approach, and I have to say I admire and respect him a lot.
I just got to know about Steve Harper has passed away on August 19, 2016 via Tim Baskerville(the nocturnes) website, You can see that the image I posted above is a screenshot from thenocturnes.
A very big lost to the world of night photography, really. And thank you for all the hard works and knowledge you have shared to the world.
I have been absent for 3 months ++ for night photography due to the changes of my daily job. And year 2015 seems to be bright one for my night photography journey as me and my friend have put up the schedule to shoot at night in various locations.
One of the location is always filled with fogs and I'm glad to make the trip to shoot there, we have made the plan to revisit the location soon.
Hopefully this year will be a productive one in term of night photography!
I learned about his work when youtubing blindly, and one of his project really caught my attention, if you are the fan of night photography, check out Mike Butler's architectural works and his precise lighting technique in large scale environment -
Accidentally bump into this Lensflare 35 "Interview with Troy Paiva" video, would like to share it out as Troy has talked a lot about the story/idea behind his night images.
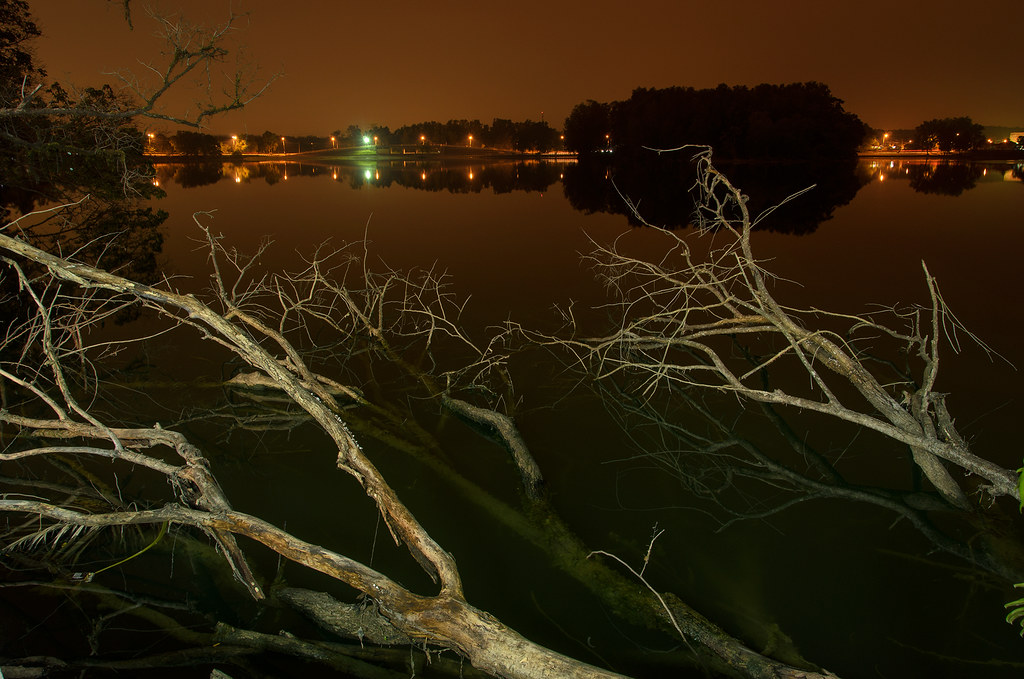
This is captured at the lake in Kuang, Selangor, like the foreground decay with green colour cast of water(green light source from the restaurant nearby) against the orangish background.
This is not the type of composition I usually make, but I think it works great with strong lines and forms for both foreground and background subjects, the red colour really stands up and give enough visual balance to me.
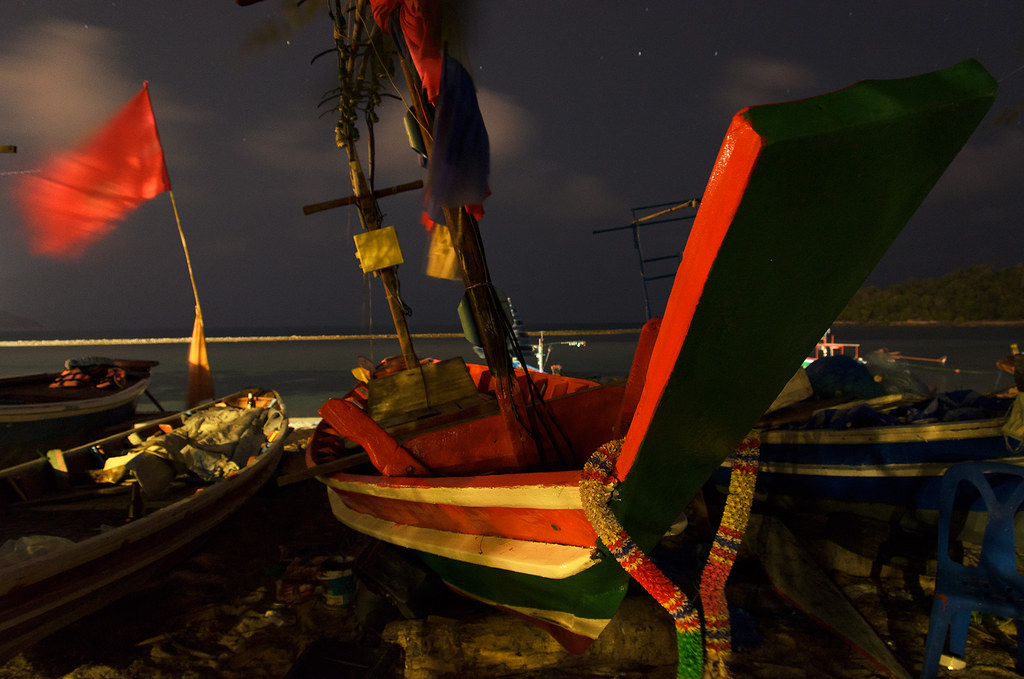
This image is taken at Koh Samui, Thailand, you should not miss this place if you are traveller.
I have known Martin for quite a while and we have been talking about running the Night Photography community, and finally we do. We have just started the community - Night Photography Asia Community(NPAC), this community is aimed to promote Night Photography so as to inspire and create awareness in Asia regions.
Why are we doing this? The answer is simple, both me and Martin have seen many night images from US/Europe but in Asia, we hardly see any serious amateur who spend their time on Night Photography crafts, and hopefully this community will encourage more people to do Night Photography and share their beautiful night photographs especially in Asia. Even though Night Photography is never a mainstream, but I don't think we are alone in this, for sure we can find more like minded people once there's a community to hang out.
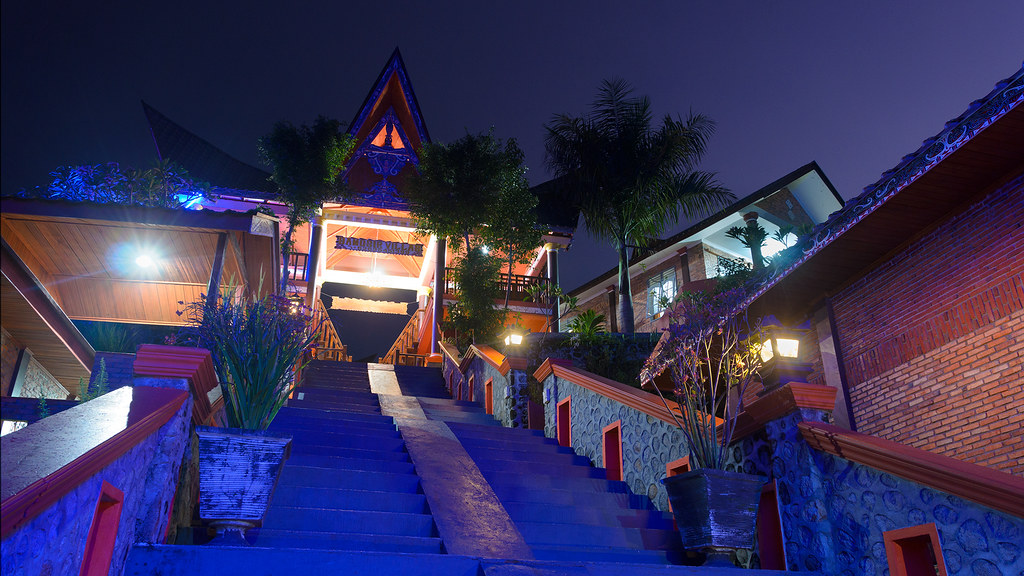
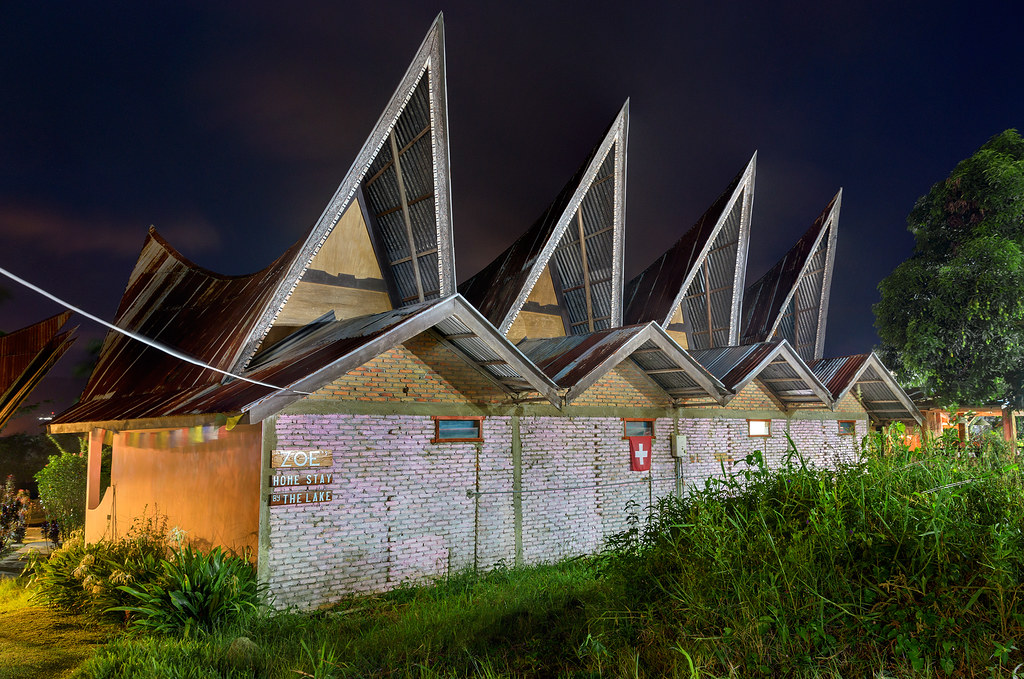
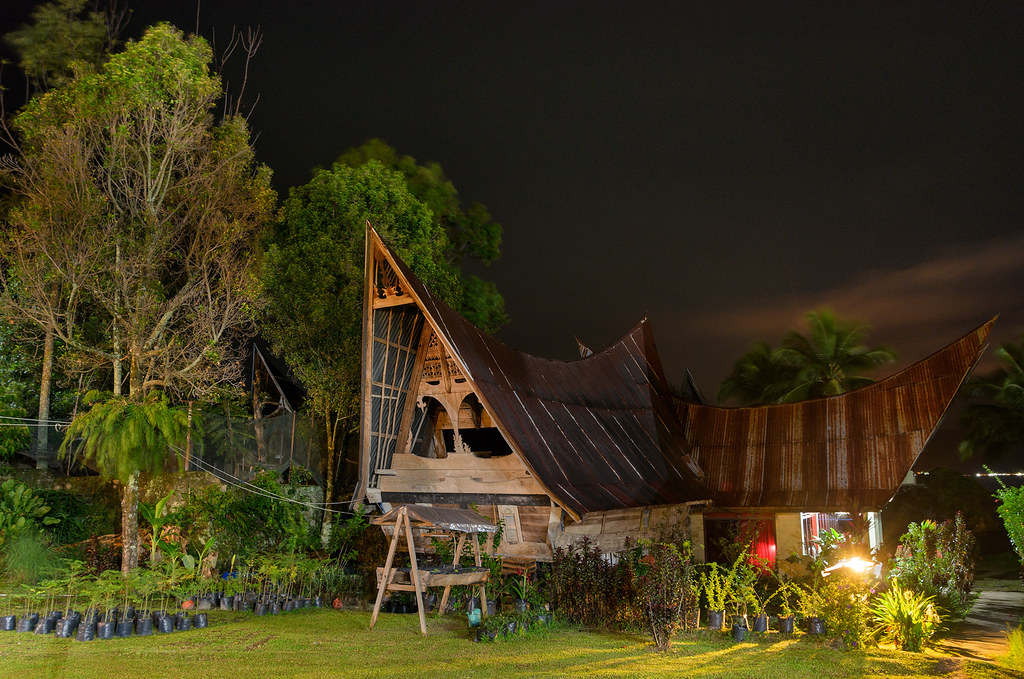
It's not my priority to do night photography over there as this is my holiday trip to Lake Toba and Medan, Indonesia, however I can't resist to do so, I'm keen to go back there again for the purpose of night photography in future because there are so much to explore.
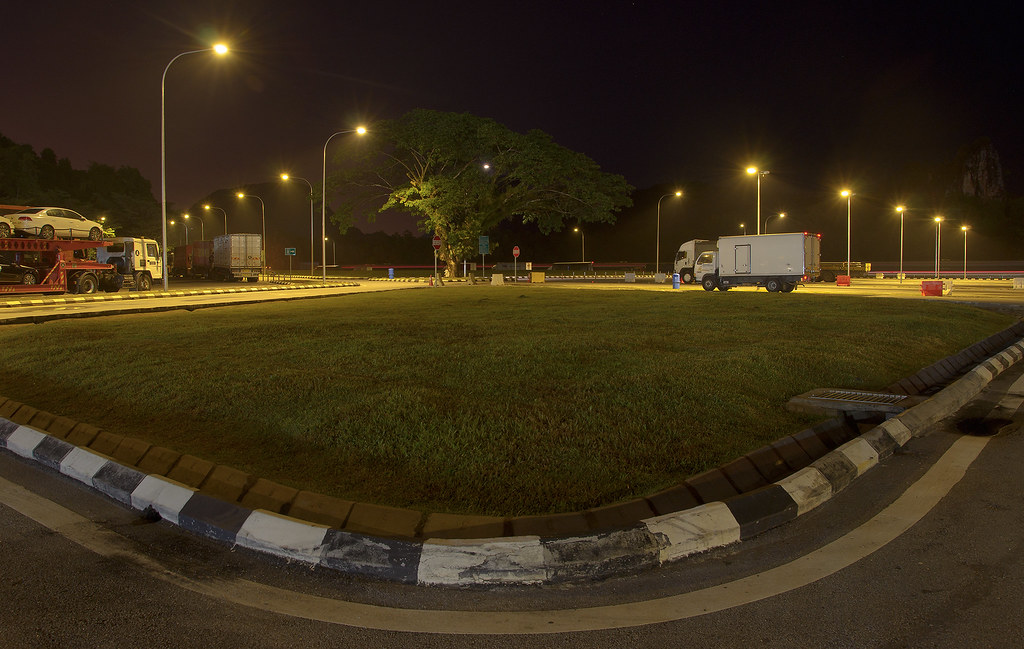
I don't have many takes but 3, there you go -
The Majestic Gate
Zed's Horns
The Traditionalism
You can obviously see the roof of the house has very unique design, it has very strong diagonal shape, which actually symbolizing the horns of buffalo. If you ever visit there, you may also find their graveyard is just built nearby their home, which I have never seen in any other place thus far, I did ask the local about the graveyard, they call it "Future House". I would like to pay respect to them and making a series of night images if possible next time. Another worthy look is church, there are so many churches you can find around the area and all of them are unique in their own way.
As my work needing me to travel to Myanmar, I have been coming back and forth to this beautiful country since 2010 and have been photographing Yangon at night - 仰光之夜 for long period of time. For people who never visit this country, majority of people are very poor, but they live happily with what they have and surprisingly the criminal rate is very low, therefore I have no problem wandering alone at night(just beware of stray dogs, you have been warned). Communication is not a problem even though they don't really speak English, I have learned a little bit of Myanmar language since my stay there, added up with body language would do just fine.
To be honest, if you are into street photography, it's a must-go country, most of life activities are happening on the streets, and they usually greet you with smiling face when you are photographing them.
This year, I commit myself to the solo art project called Dwelling 居(the word dwelling, refers to a shelter in which people live), aimed to produce a body of work showing and documenting the living environment of Myanmar people at night, avoiding all those fancy tourist locations at all and rather stick to the places where they actually live, which allows me to talk to the locals, encountering drunken masters(if drinking everyday makes them a master) and listening to guitar(one of the cheapest music instrument that they can afford) music at night. One of the thing I notice is we never actually look at the house in detail(even our own home), often time we just walk by any houses and never stop by.
About architectural design of their houses, I don't have single word to describe them(spontaneous style?), you can find bamboo/wooden/brick houses in their housing area so each of them is unique in their own way, there's no room but just partitioning inside most of the houses, with windows wide open without proper curtains. With the country opens up to the world, I'm not sure if I'm going to see the same thing 20 years from now, I can't tell if the transition is good or bad but definitely it will create great impact to their surroundings and affects the way they live.
If I have to describe how I feel about their current living environment - tranquillity would be the word.
Here's the video I have created for this project with total 32 images. The whole set of images can be found in my photography site.
My gratitude goes to those people who I have met during the journey of photographing in Myanmar, and thank you for sharing life stories of yours. I wish I can spend more times with you guys.
The lovely uncle and aunty who invited me to their house for light supper
The handsome group of people who tried their best to explain to me about their living places even though they don't speak English well
Last but not least, the drunken masters
To the people of Myanmar, good bye and see you next time!
While there are differences between art of painting and photography, it has so much similarities that photographer should learn to think like a painter. Therefore it is important to study the artwork of painting artists, there are so much to offer in term of imagination, composition, story telling, mood creation, clever use of the colour palette and many other elements that they put together.
Manhattan Bridge Loop, 1928
Edward Hopper, the american artist summed up his work by stating "The whole answer is there on the canvas" tells exactly that. I won't discuss much about his work here and let you interpret yourself, I would like to share what I found in youtube -
I know that's a lot to swallow, just take your time slowly when viewing his paintings, each of them are created with a lot of thoughts from Edward Hopper. I really hope someday I can see the real paintings of him in exhibition.
This is the challenging image to create, I was testing something I have never done before, which is putting my fenix PD32UE flashlight into water and illuminate the underwater rocks, this area is quite dark and I was bumping on the rocks couple of time and got my bare foot a deep cut. If you light-paint from above the water, you will get tons of reflection and won't be able to reveal the rocks underneath the water.
Anyway I'm happy with the outcome since it's the first time experimenting with underwater light-painting, painful but worthwhile.
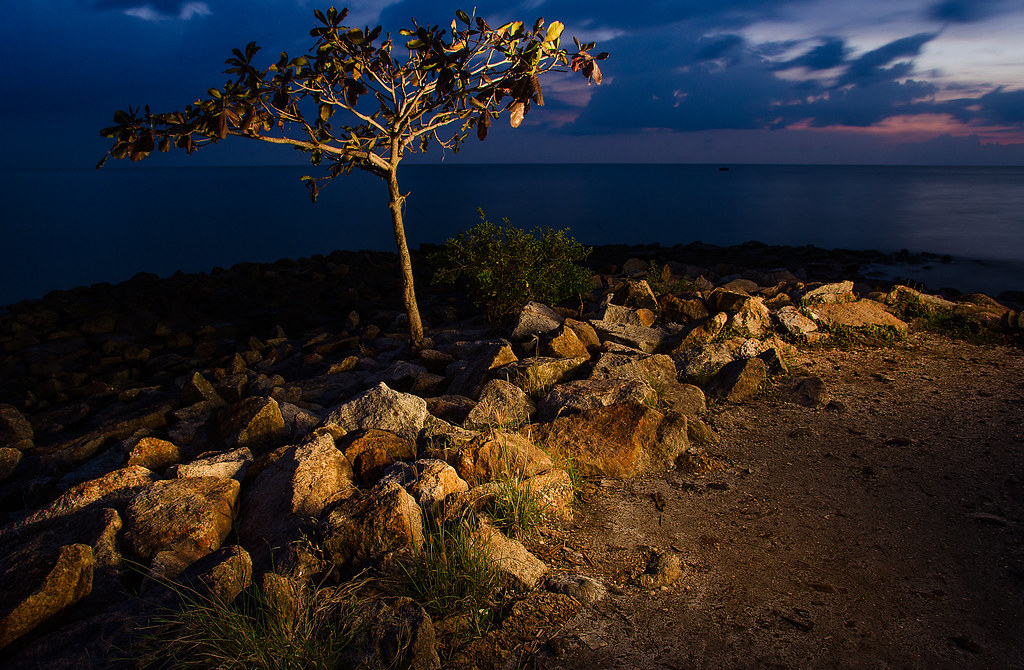
The location is at my home town Kuala Kurau, this bay area is famous of sunset and considered a place that is shoot to dead, I want to do something different, which is shooting this location at night instead of sunset period, and after carefully composing the scene, waited till the sun go down, I started to light-paint with my protomachines light.
In order to make the image more dramatic, I light-painted the foreground with warm colour against the cool colour background(which I can't change anyway), and got this image after couple of tries.
Unfortunately what you see here will be gone soon, giving way to housing development.
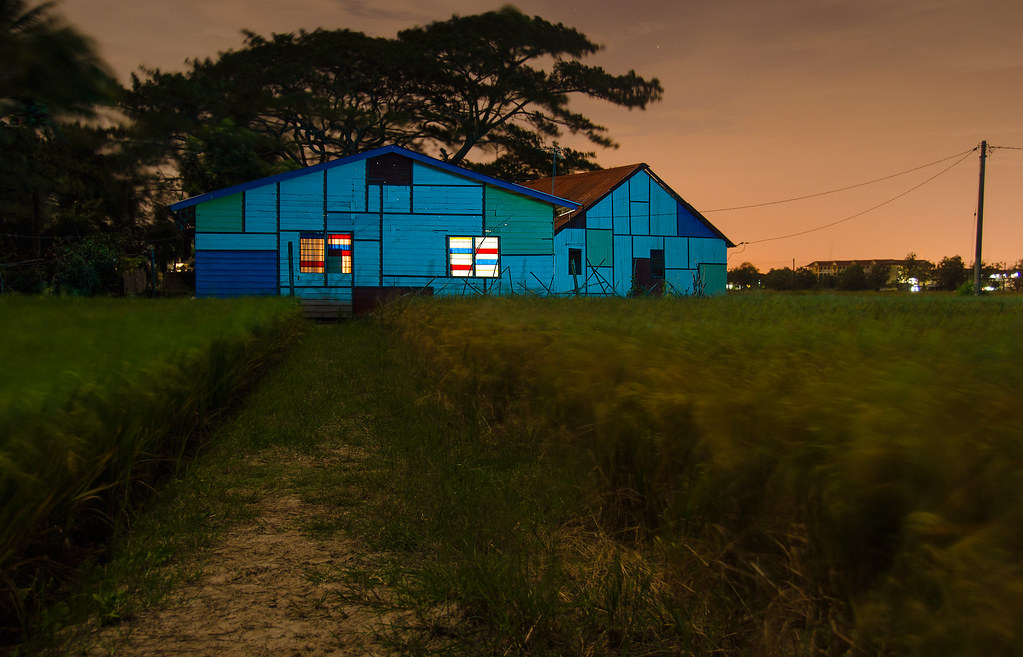
This image is captured at paddy fields in Perlis, the Rainbow House is unique icon and used to be very popular after it was shown in one of Malaysia movie. But today not many people are visiting this place anymore, I guess it will fade away after the whole area is developed. I'm lucky enough to be able to capture it at night before it is long gone.
This scene is light-painted with protomachines light, which is my new tool for light painting work, I'm still testing it and hopefully can write more complete review about this wonderful tool.
By the way, Merry Christmas & Happy New Year ;)
20140619 Updates: The rainbow house is no longer colourful but white, you can find more information here -
I'm working on the project to photograph our unique heritage site - Bujang Valley, I'm glad that the management has granted permission for me to access the site at night. But today I get to read the news which is quite saddening over here -
Several temple sites were destroyed to give way to development, to be honest this is not acceptable at all, I do hope our government will stop this before it gets worse, those sites hold the true value of our history and should not be removed without careful plan.
My initial plan was to cover Batu Pahat site then only move to Sungai Batu, it seems I have to move quicker to cover them before it's too late.
This time I'm going to share about thought process and light-painting workflow on another image of mine - Bridge Underneath.
The location - my home town bay area which is surrounded by tungsten street light. The ambient light is quite strong here and my camera setting is aperture at F8, 30 seconds shutter speed, ISO 100 and auto white balance, I'm always happy as long as I don't need to wait more than 30 seconds to review my first image. My main subject here is those wood sticks, and the overhead bridge is considered the backdrop.
Exposure: Aperture F8|Shutter Speed 30s|ISO 100
Couple of things need to think about after reviewing first image, the auto white balance setting is smart, it sets the camera white balance to tungsten because you can see the colours shift to blue(to cancel out the orange so the colour looks more balance and natural), that's the white balance correction you get in-camera. Exposure wise, it seems to be underexposed and I need to pump up the exposure. But wait, I don't really care about "Correct" but more on getting "Creative" exposure, therefore I'm going to change the white balance to cloudy here to amplify the orange colour background light and keep the exposure(Aperture, Shutter Speed, ISO) setting the same as first image. Most people never thought that changing white balance will increase your exposure especially when you change from cool white balance to warm white balance.
Exposure: Aperture F8|Shutter Speed 30s|ISO 100
Second image looks brighter than the first image even though I don't change exposure setting, it's not the exposure I want yet but close, the cloudy white balance changes the whole scene to orang colour. My main subject is those wood sticks, to make them pop, I play with "colour contrast" concept of which I will paint them with cool colour(blue here) against the warm colour(orange) backdrop. For the background ambient, I will add 1/3 stop of light so the setting I'm going for is aperture at F8, 40 seconds shutter speed and ISO 100. Light-painting wise, I'm going to paint the wood sticks from camera left(just out side of camera view), then get low to illuminate those woods, and just skim a little bit by standing up so that the woods on top will be painted as well.
Exposure: Aperture F8|Shutter Speed 40s|ISO 100
After 3 tries of light-painting, finally I have gotten everything right and here's the final result, the wood sticks colour becomes purple instead of blue(red orange+blue=purple), the background is little bit brighter and more glowing compared to second image. Post-processing wise I adjust the contrast a little bit and done.
Make up your mind of what you want to create, it will determine how the final image looks like.
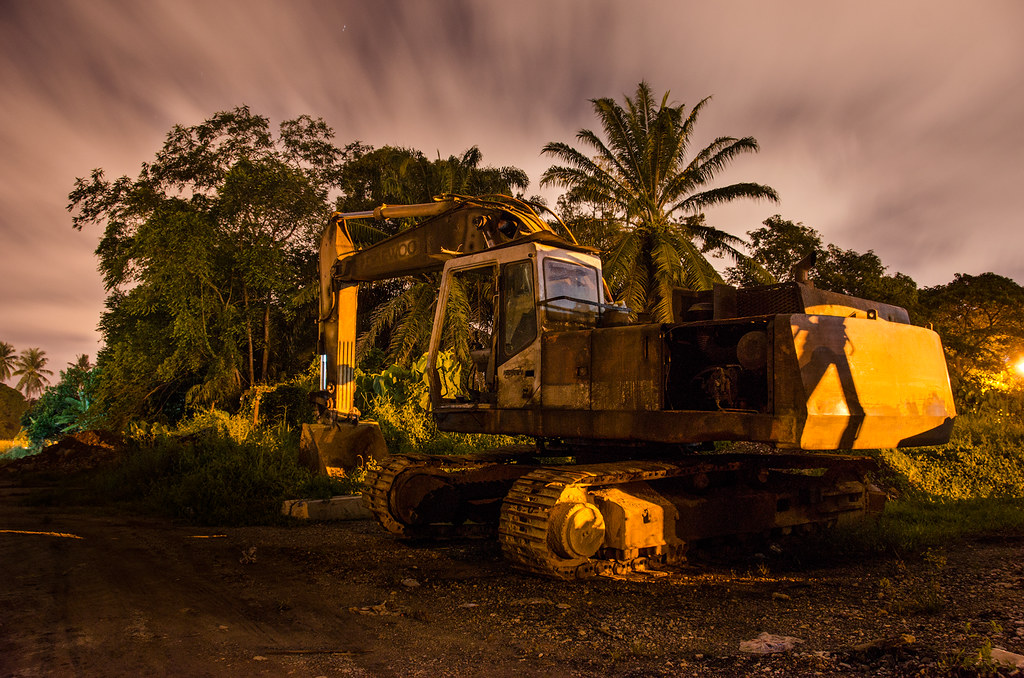
At the truckyard, the excavator is parked beside the woods, this location is heavily illuminated by the sodium vapour street lights.
Sometimes the background makes the image, it would be boring if there's nothing in the sky. Here's the tip to share, I checked the weather forecast to know the night will be cloudy, and second factor to control how your image looks like is the wind direction and speed. Once you have those information at hand, the rest is about making the image on location. Being patient is important too, I have to observe the sky and wait for the right timing to get interesting sky like this, and the reason I set the shutter speed to 90 seconds because the cloud was moving slowly and requires longer time to capture the transition of moving cloud.
By the way I use the mobile app - Foreca to track the weather information, so far it seems to be most accurate for the country I reside. It offers both IOS and Android version as well.





.jpg!Blog.jpg)